By Luke Dawson
Offensive Coordinator/Wide Receivers
Shiloh Christian School (AR)
Twitter: @coachldawson
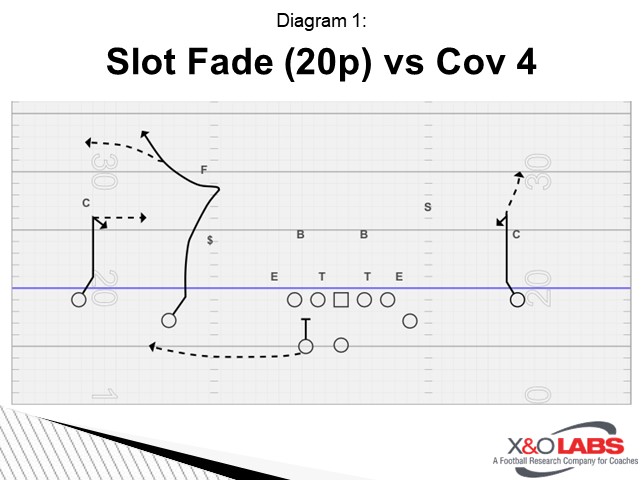
If you happened to watch any college football this year, specifically certain spread teams such as LSU, Oklahoma, or Clemson, you most certainly saw one of football’s newest favorite passing concepts - the slot fade. The country’s top college coaches like the concept for the same reasons you should: taking a vertical shot play to one of your best athletes in a lot of grass. The play is also very versatile and can be run against a variety of coverages.
When I arrived at Baptist Prep in 2018, the Eagles were riding a 27-game losing streak and running the double-slot triple option. It became clear early on that, although we were going to be in the gun, we were not going to be an air raid team by any means. We built an offensive identity on our downhill gap scheme run game. This past offseason we decided to make our vertical passing game a focus point to complement our 20/21 personnel run game, and the slot fade became an essential part of this vertical passing game.

Molding the Slot Fade to Your Personnel & Opponent
Some of you reading this will understand when I say this, but at Baptist Prep, we were not going to outrun any DB we would face from the WR position. This is what scared me the most as a play-caller about the slot fade concept. When you watch Oklahoma or LSU run the concept on TV, the dudes they are doing it with a look a little different than ours. We had WRs with good hands and could run decent routes, but we needed to find a way to stretch teams vertically with players that were not built to do so. We also knew that we were going to see almost exclusively 2-high (quarters or man) coverage shells the entire season.
Thus, the idea of an adjustable slot fade was formed. But before we get into the top-end adjustable portion of the route, we need to know the important coaching points about the first half of the route.
The First Half of the Route
We had to make it clear to our receivers early on that they must be able to avoid contact. Since we were not exactly the fastest group, any contact on a slot from an OSLB would slow down our route (even more than it already was). Thus, we needed to avoid any contact before we got to the safety we were trying to attack. They also could not get shoved too far inside or out. Thus, they must practice and prepare to avoid contact by the OSLB to get to the third level. There are many good resources to find WR releases, and we made many of these available for our guys to use at their discretion.
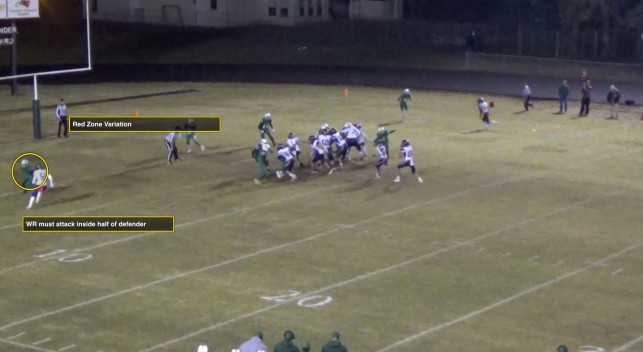
Once we avoid the OSLB by whatever release we choose, we must press the safety's inside shoulder to either retain his inside leverage or, more desirably, flip his hips toward the inside. This is the key to the first half of the route. We must make that DB believe that we are trying to beat him to the inside. If that can be done, we have already won the route.

The Second Half of the Route
The second half of the route is where the adjustability of the route comes into play. Let us assume at this point that we have controlled the safety’s leverage by the first half of the route, and he is protecting the inside (as is typical in most 2-high structures). The next step in adjusting the route is to know where the corner will be: is he jumping the short route underneath, or retaining his depth to shelter under the slot fade?


