By Justin Iske
Offensive Line Coach
Fort Hays State University
 Justin Iske, Offensive Line Coach, Fort Hays State University (KS)
One of my favorite sayings is "you never stop learning." That is why we try to do as much research as possible every off-season and why we remind ourselves often that there are many ways to do things. We do not claim to have all the answers, but our hope is that this article gives you a pointer or two that will help you. Most of the ideas that appear below have been stolen from other coaches. However, we have also gotten many great ideas from our players as far as what is productive for them and what is not. We have exit meetings with our players after every season and every spring practice to ask them questions about what they like and don’t like about what we do. While we don’t suggest making major changes every year, there is always something that can be improved upon.
General Fundamentals:
We wanted to share a couple of general thoughts on pass protection before we get into the nuts and bolts of our pass pro technique.
- Eyes on the target (middle of chest): We use the phrase "Aim small, miss small." We work to keep our eyes open throughout the duration of the play in order to react to pass rush moves, slants, twists, etc.
- It is important that our steps mirror each other (and are the same distance) so that we maintain our base at all times. We must lead with the foot in the direction we are going. For example, if setting to the right, the right foot must move first.
- We want to keep both feet on the ground as much as possible. You wouldn’t throw a punch in a boxing match with one foot in the air, just as you don’t want to make contact with a defender with one foot in the air. That is why we drag our second step to keep in contact with the ground.
- If you have a player that is having a problem with false steps (stepping with the wrong foot or not gaining width on that first step), have them shift their body weight opposite the direction they are going to force the first step. For example, if most of your weight is on your right foot, it is impossible to step with that foot and vice versa.
- Finally, we teach our players the concept of the pocket. It is our center and guards’ responsibility to ensure the depth of the pocket (keeping defenders on the line of scrimmage) and our tackles’ responsibility to ensure the width of the pocket (pushing rushers as wide as possible). Obviously, if you are a turn or slide protection team, the guard to the slide side has some gray area on this in terms of staying on level with their tackle, but that is the general idea that we want to get across to them.
The Punch:
We teach our linemen to set with their hands low. In our kick or post set, the thumbs are together with the hands at belt level six inches from your stomach with the elbows in tight to the ribcage. When the defender is within range, the punch should be executed on the rise at the bottom of the defender’s numbers.
- We talk about "lifting him out of his shoes." As the arms are extended to a lockout, the head and shoulders must be kept back and there is a slight roll of the hips.
- The feet must stay alive and we must stay square and in front of the defender.
- Keep the hands active until you have established inside hand leverage with the thumbs up and elbows in. Grab cloth within the defender’s framework.
Once we have become efficient with the punch, we will use a few change-ups to keep defenders off-balance:
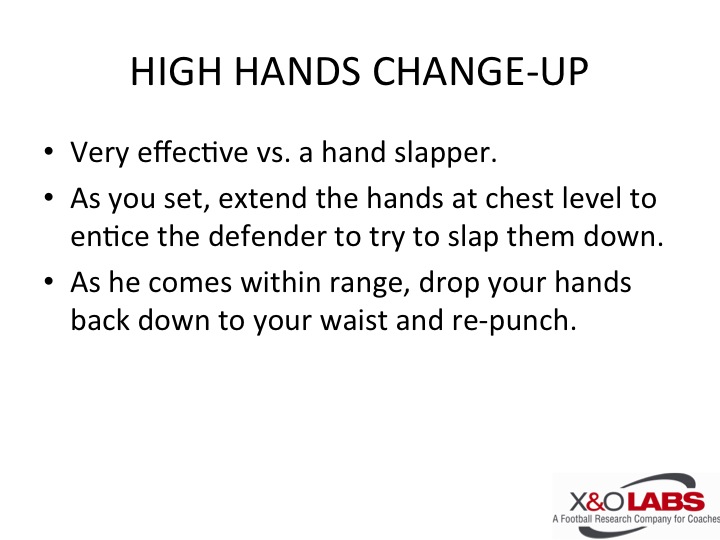
- The first is to show the defender high hands. This is especially effective versus a defender that is a hand slapper. As you set, extend the hands at chest level to entice the defender to try to slap them down. As he comes within range drop them back down to your waist and re-punch.
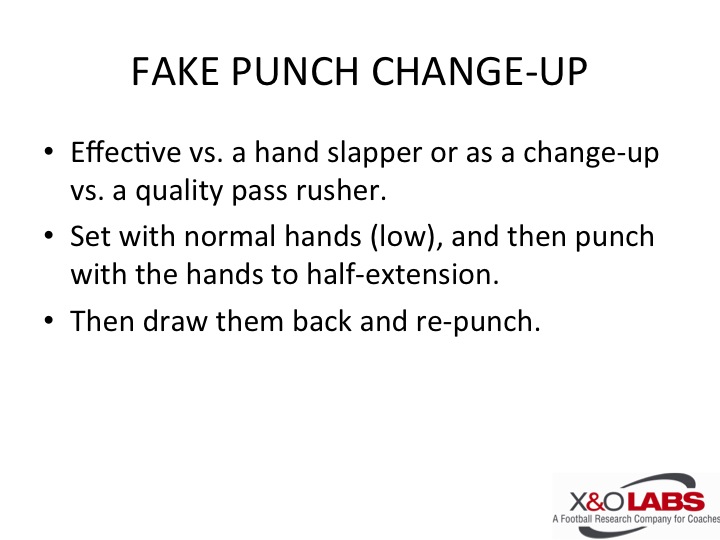
- The second change-up we use is called a fake punch. This would be used anytime we face a quality pass rusher as a change-up to keep them off-balance.We will set with low hands initially, then punch with the hands to half-extension, draw them back, and then re-punch. Our film evaluation that week will determine which of these techniques we will incorporate and how much of each we will use.
The following examples are the drills I use in practice to teach hand placement:
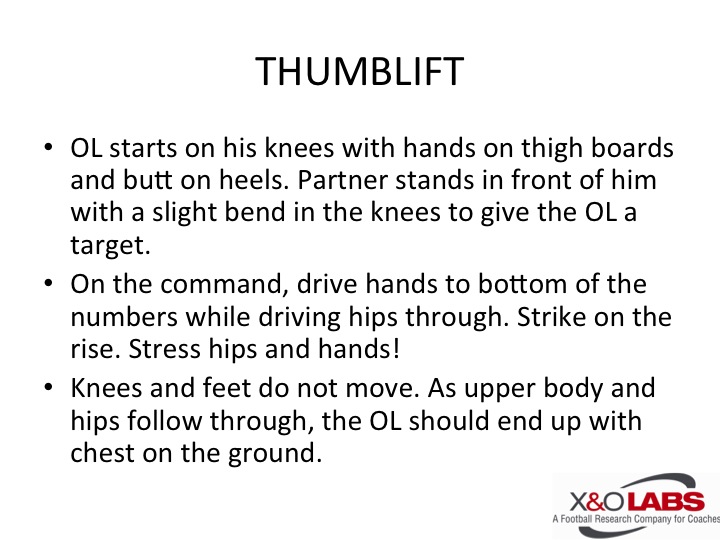
Thumblift:
Stalemate: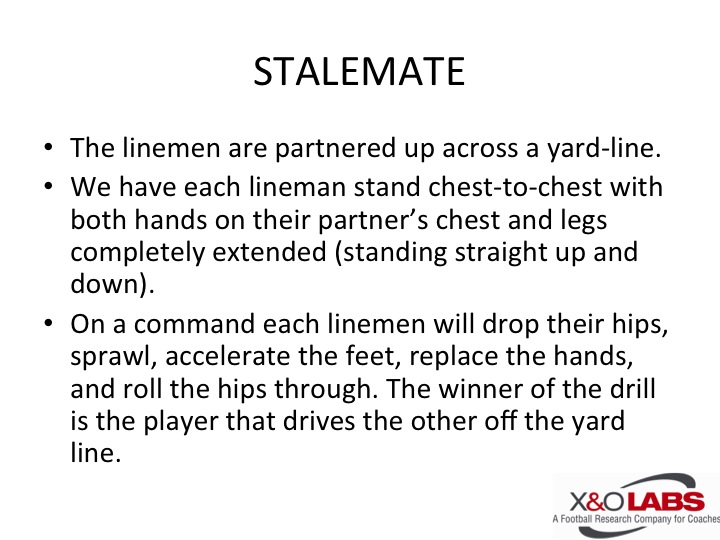
Punch-Reset: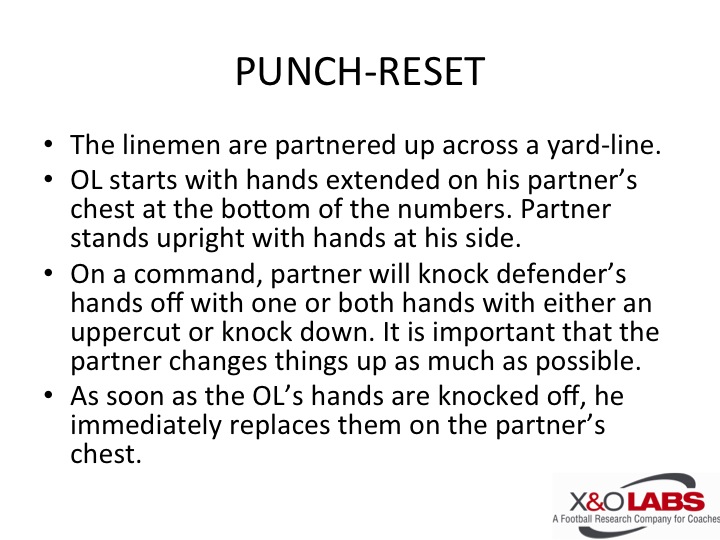
Click below to see Coach Iske’s hand placement drills in action. His drill tape and tutorial is below.


